Melting Snowman Cookies
This post may contain affiliate links. For more information, read my disclosure policy here.

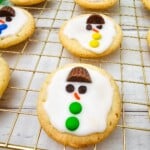

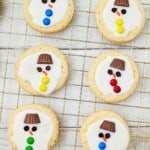
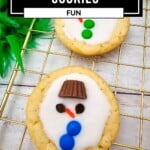

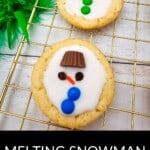
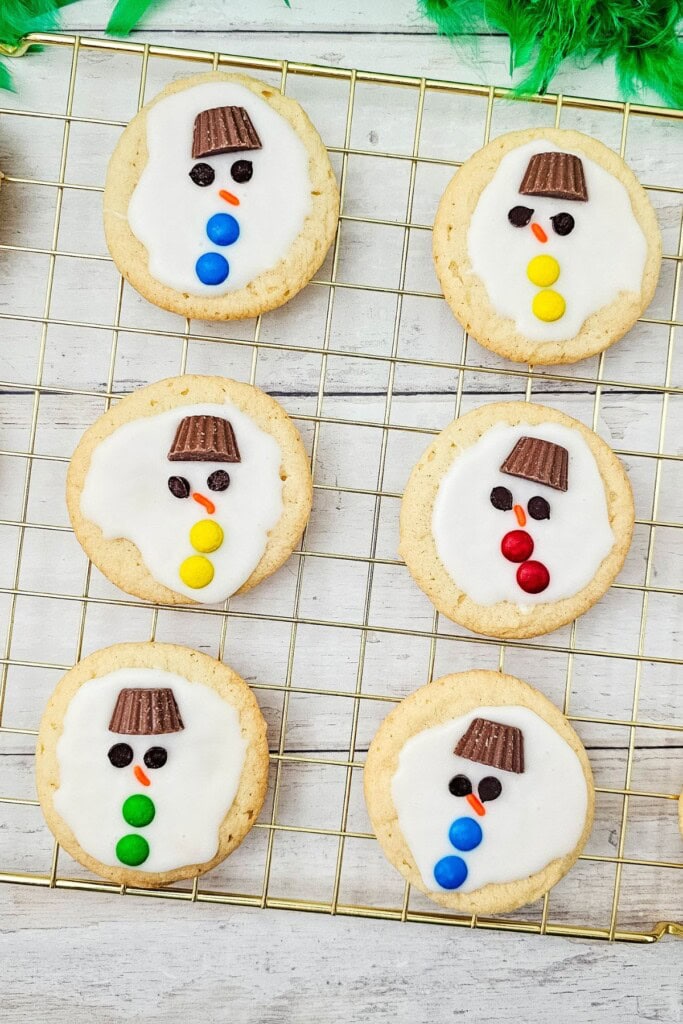
These Melting Snowman Cookies are the kind of holiday treat that makes everyone smile. With ready to bake sugar cookie dough and simple decorations. They’re festive, fun, and surprisingly easy to make, even if you’re short on time or baking experience. Perfect for cookie swaps, classroom parties, or a cozy afternoon in the kitchen with kids. Because they don’t have to be perfect.
More fun holiday treats are my Christmas Cake Mix Cookies and my Christmas Tree Cupcakes.
Why this Melting Snowman Cookie Recipe Works
Whether you’re baking with kids, prepping for a cookie swap, or just looking for a festive treat that sparks joy, these Melting Snowman Cookies deliver. They look like a melted snowman and taste like Christmas.
- No rolling or cutting required: Start with ready-to-bake dough. No flour mess, no cookie cutters, just easy baking.
- Kid-friendly and fun to decorate: Perfect for little hands and big imaginations. Each snowman turns out delightfully unique.
- Uses simple, store-bought ingredients: No specialty tools or hard-to-find items—just pantry staples and favorite candies.
- Great for parties, gifts, and cookie trays: These cookies are festive, recognizable, and always a hit at holiday gatherings.
- Make-ahead friendly: Bake the cookies in advance and decorate later, or prep decorations ahead for a smoother process.
Can I use homemade cookie dough instead of store-bought?
Absolutely! Just make sure the cookies bake up thick and soft so the icing and decorations sit nicely on top. These adorable snowmen cookies are easy to make and fun for the kids to help decorate.
Pro Tip for Round Sugar Cookies
Scoot for Perfect Circles: Immediately after the cookies come out of the oven, use a large round cookie cutter, biscuit cutter, or the rim of a glass (slightly larger than the cookie) to gently “scoot” the edges back into a perfect circle.
Ingredient Notes for these Christmas Cookies
These cookies are great for holiday parties and will delight kids big and small. The slice and bake cookies make it fun and easy for all your little helpers. Use a sprinkle for the carrot nose.
Get the full printable recipe with specific measurements and directions in the recipe card below.
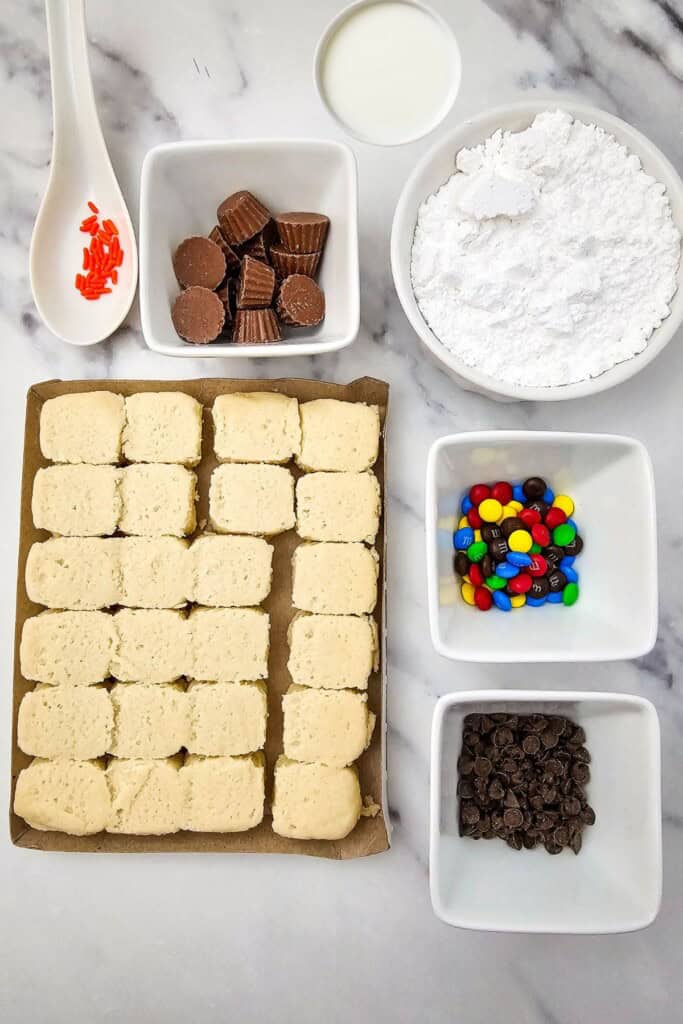
- Ready-to-Bake Sugar Cookie Dough: This shortcut saves time and ensures consistent results. The soft, sweet base gives your snowmen a smooth surface for decorating and a classic sugar cookie flavor.
- Powdered Sugar: The foundation of the cookie icing. Its fine texture creates a smooth, glossy finish that mimics melting snow and holds the decorations in place.
- Miniature Peanut Butter Cups: These form the snowmen’s hats. Their shape and chocolate-peanut butter flavor add visual charm and a tasty contrast to the sweet cookie base.
- Mini Chocolate Chips: Used for the eyes. Their small size and pointed shape make them easy to place and give the snowmen expressive little faces.
- Mini M&Ms: To create the buttons. Their color and crunch add personality and texture, making each snowman unique and festive.
Variations and Substitutions for Adorable Melted Snowman Cookies
- Use chocolate cookie dough: For a “muddy snowman” look, swap in chocolate or brownie cookie dough for a rich, fudgy base.
- Swap Peanut Butter Cups for Rolos or marshmallows: Rolos give a caramel twist, while mini marshmallows create a soft, snowy hat.
- Try candy eyes instead of chocolate chips: They add extra personality and are easier to place for little hands. Or Frost with a black gel.
- Use colored icing for scarves or puddles: Tint a bit of the icing with red, green, or blue to add scarves, earmuffs, or melting snowman puddles.
- Add arms or accessories: Pretzel stick arms, licorice for scarves, or sprinkles for earmuffs—let creativity lead the way. Use black decorating gel icing to pipe detail on the top of the cookies.
Special Equipment Needed for Melting Snowman Cookies
You may need some standard equipment like an electric mixer or a piping bag to make these adorable type of cookies.
- Parchment paper or Silicone Baking Mats: They help prevent sticking and make clean up a breeze.
- Wire cooling rack: Perfect for the cookies to set and cool.
How to Make Melted Snowman Sugar Cookies
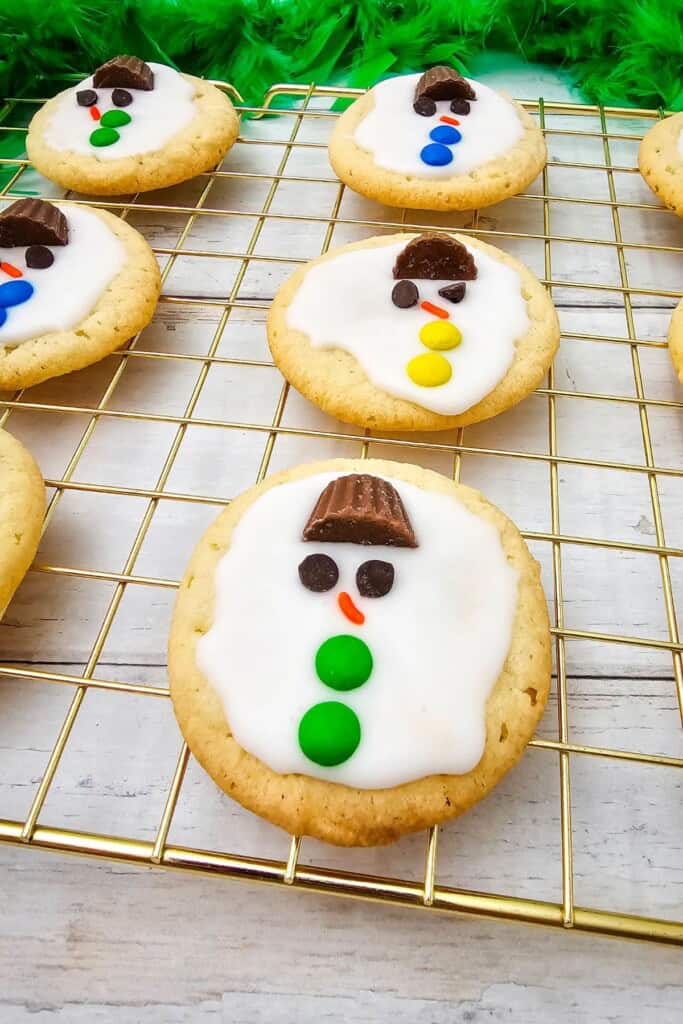
Start with store-bought dough and simple decorations. No rolling, cutting, or piping needed. With candy hats, sprinkle noses, and chocolate chip eyes, each cookie tells its own little story. They’re guaranteed to make people smile. A perfect santa cookie, just leave on a plate with some milk.
Get the full printable recipe with specific measurements and directions in the recipe card below.
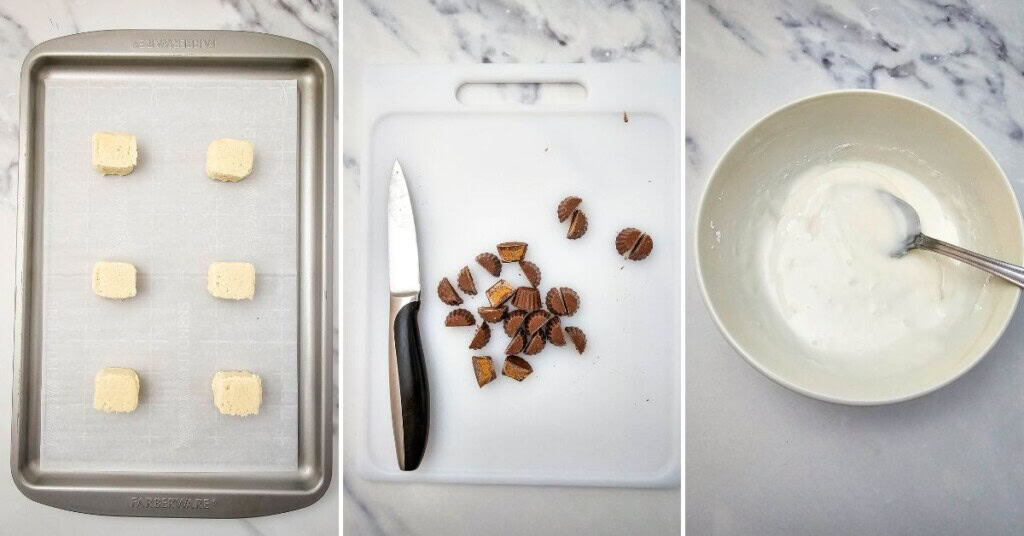
- Bake the Cookies: Arrange sugar cookie dough on a parchment-lined sheet and bake at 450°F for 13–15 minutes. Cool completely.
- Make the White Icing: Whisk powdered sugar with milk until thick and spreadable. This white cookie icing is the background.
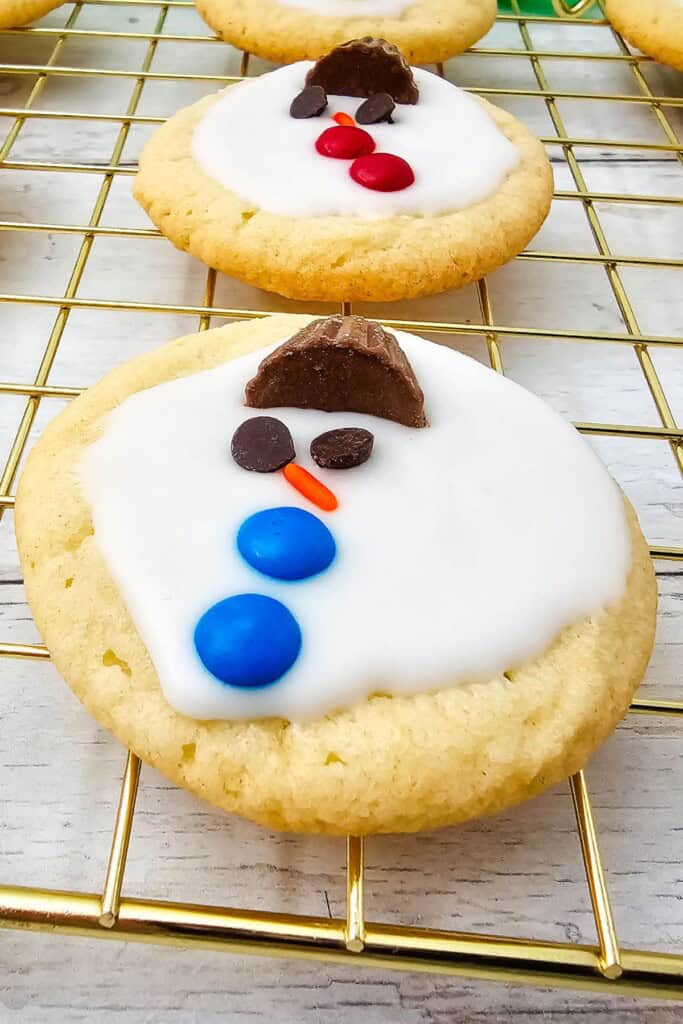
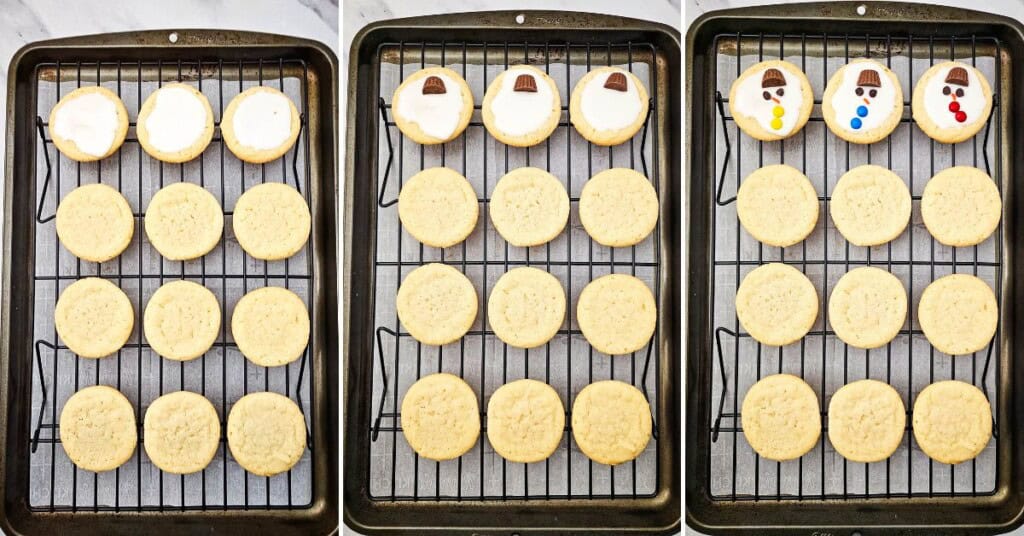
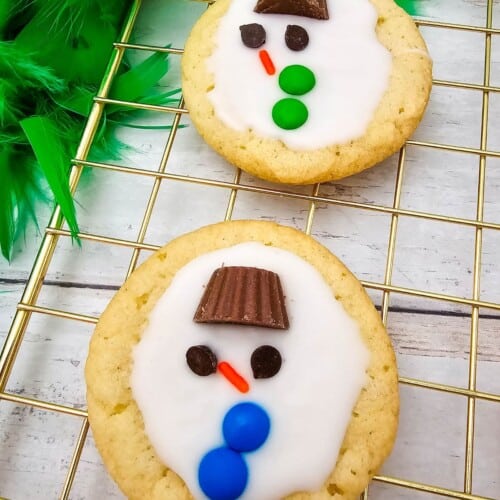
- Decorate the Snowmen: Spoon icing onto each cookie. Add half a Reese’s Cup for the hat, chocolate chips for eyes, an orange sprinkle for the nose, and Mini M&Ms for buttons.
- Allow the Cookies to Set: Let icing set for 20–30 minutes before serving or storing.
Prep Ahead Suggestions for Melting Snowman Cookies
These cookies are fun to make. Kids love them because they look like melting snowmen.
- Bake cookies a day ahead and store airtight.
- Make icing in advance and refrigerate—just stir before using.
- Pre-cut decorations and set up a decorating station for kids or guests.
Alternate Cooking Methods
- Air fryer: Bake the holiday cookies at 350°F for 6–8 minutes in batches.
- Toaster oven: Great for small batches—watch closely to avoid overbaking.
How to Store, Freeze and Use Leftovers
It is easy to store these hoilday treats and freeze these cute cookies. The leftover cookies are wonderful for puddings or trifles.
- Store: Keep cookies in an airtight container at room temp for up to 4 days.
- Freeze: Freeze undecorated cookies for up to 2 months.
- Use leftovers: Crumble into ice cream or layer into a holiday trifle.
FAQS About This Melted Snowman Cookies Recipe
You can, but it sets much harder. For a soft, melty look, stick with powdered sugar and milk.
Yes. Swap Reese’s Cups for nut-free chocolate candies or mini marshmallows.
Expert Tips for Making This Sugar Cookie Recipe
Whether you’re baking with little ones or gifting to coworkers, these cookies are playful and crowd-pleasing.
- Keep the Icing Thick: A thicker consistency helps it stay put and creates that perfect “melting” look without running off the edges.
- Work in small batches: Decorate 2–3 cookies at a time so the icing doesn’t set before you add the candy details.
- Use a toothpick or tweezers for placement: Tiny decorations like sprinkles and mini chips are easier to position with a tool, especially helpful for kids.
- Chill the cookies briefly before decorating: Cooler cookies help the icing set faster and prevent candy pieces from sliding.
- Let the icing set fully before storing: Give it 20–30 minutes to firm up so decorations stay in place and cookies don’t stick together.
- Serve this recipe with: List what to serve with my Norwegian Cookies (Brune Pinner) and my Butter Pecan Cookies.
More Recipes You Might Like


Melting Snowman Cookies
Equipment
- Offset Spatula
Ingredients
- 16 ounces Sugar cookie dough, package ready to bake
- 2 cups Powdered sugar
- 3-4 tbsp Milk
- 12 Mini Reese’s Cups unwrapped, (cut in half)
- 48 Mini chocolate chips
- 24 Orange sprinkles
- 48 Mini M&Ms
Instructions
- Preheat the oven to 450 degrees. Line a baking sheet with parchment paper.
- Arrange the cookies on the baking sheet, 2-3 inches apart. Bake for 13-15 minutes, until done.
- Allow the cookies to cool on the baking sheet for 2 minutes, then transfer to a wire cooling rack to cool completely for 10 minutes.
- Cut the Reese’s Cups in half.
- Add the powdered sugar to a small bowl and gradually stir in the milk, until you have a thick icing. Too thin, and it will spread too much.
- Work in batches of 3 for the next steps, unless you have help.
- Add a small spoonful of icing to the center of each cookie, then gently spread out. It does not need to be a perfect circle because these are “melting” snowmen”.
- Gently place a half Reese’s Mini Cup at the top center of each cookie for the hat.
- Now arrange 2 mini chocolate chips (point side down) under the hat for the eyeballs.
- Gently drop an orange sprinkle slightly under and between the eyes for the nose.
- Arrange 2 Mini M&Ms under that for the buttons.
- Allow the icing to set completely for 20-30 minutes.
Christina’s Notes
- Cookie Base: The Key to No-Spread Rounds. A flat, round cookie is the perfect canvas for your melted masterpiece.
- Use a No-Spread Recipe: Opt for a sugar cookie recipe that uses less leavening (baking powder/soda) or includes cornstarch in the flour blend. Cornstarch absorbs moisture and helps the dough hold its shape.
- Chill the Dough (Crucial): Even a “no-chill” recipe benefits from a quick chill. Chill the cut-out dough rounds for 10-15 minutes in the freezer before baking. This firms up the butter, preventing the cookies from spreading too quickly in the oven.
- Spoon: Use the back of a spoon, an offset spatula, or even just tilt the cookie to guide the icing over the edges to create the random, melting.
For more helpful information about this recipe, such as variations, substitutions and other pro-tips, scroll up on the page.